Configure Cross-Institutional DICOM Routing Without Breaking Privacy Rules

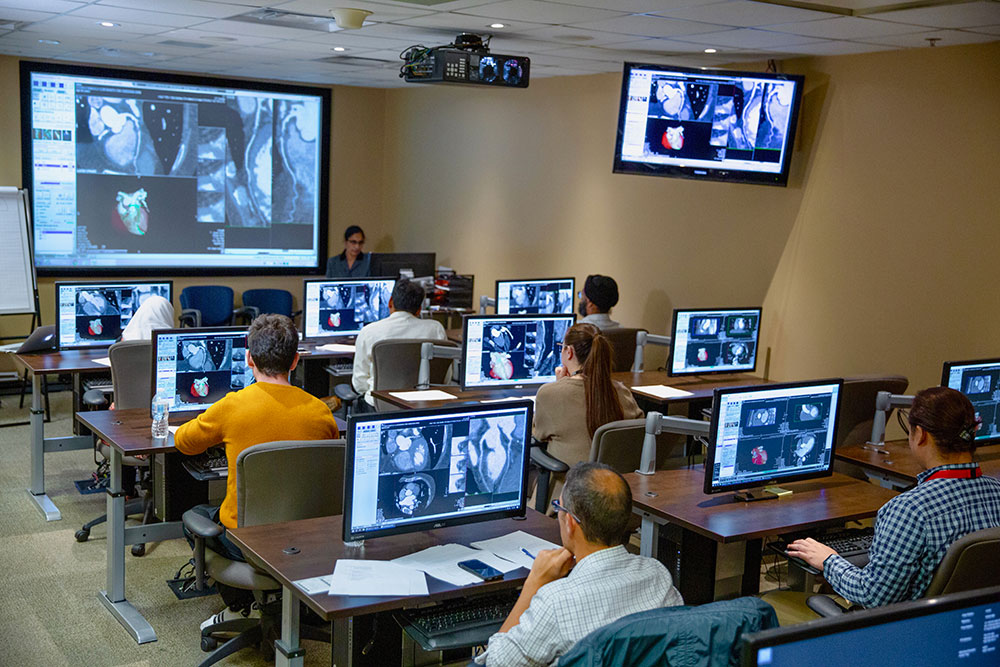
Medical images need to travel between hospitals, clinics, and specialist centers every day.
With a reliable medical image sharing platform, you can connect different healthcare facilities while keeping patient data secure.
But setting up cross-institutional DICOM routing isn’t just about connecting systems—it’s about doing it right.
Why Cross-Institutional Routing Matters Now
Healthcare has become more collaborative than ever. You might need to send MRI scans from a local clinic to a specialist hospital, or share CT images with a consulting radiologist across the state.
Traditional PACS solutions often lack intelligent DICOM routing capabilities, complicating the transfer of images among facilities or modalities.
The numbers tell the story clearly. According to SNS Insider, the PACS market will surpass USD 5.21 billion by 2032, driven by AI integration, cloud adoption. This growth reflects how desperately healthcare systems need better image sharing solutions.
Basic Components You Need
Before you start configuring anything, make sure you have these essential pieces in place:
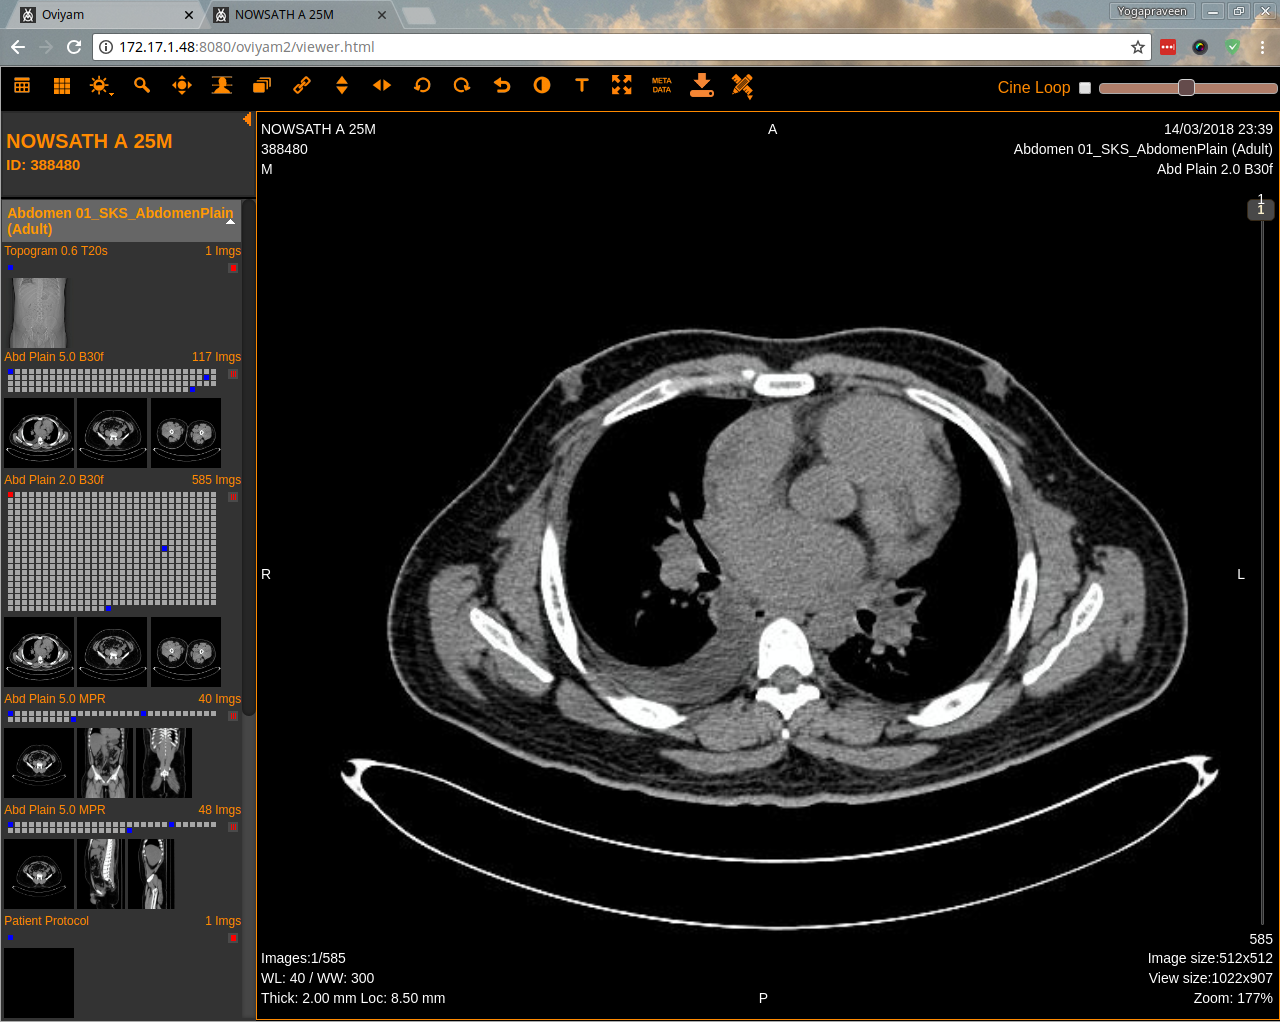
DICOM Router Infrastructure Your DICOM router acts like a traffic controller for medical images. DICOM image routers are specialized hardware that efficiently and securely route medical images within a network. They act as traffic controllers. You’ll need dedicated hardware that can handle the volume and complexity of cross-institutional transfers.
Network Security Framework Cross-institutional routing requires robust security measures. This process requires careful configuration of network settings, including the assignment of unique IP addresses and AE Titles to ensure accurate and secure transmission of imaging data.
Authentication Systems Each participating institution needs proper authentication protocols. You can’t just open the digital doors and hope for the best—every connection must be verified and secure.
Setting Up Privacy-First Configuration
DICOM Tag Management The first step in protecting patient privacy is handling DICOM tags properly.
There are names such as; Station Name, Patient Name, Physician’s Name, Radiologist’s Name, Institution Name/Address, that require de-identification.
Your routing system must be configured to either anonymize or pseudonymize these tags before transmission.
Here’s what you need to configure for each tag type:
| Tag Category | Action Required | Privacy Impact |
| Patient Demographics | Anonymize or pseudonymize | High – direct patient identifiers |
| Institution Data | Replace with generic codes | Medium – can reveal treatment location |
| Equipment Details | Maintain for diagnostic value | Low – helps with image interpretation |
Encryption Standards Encryption is crucial for HIPAA compliance regarding electronic PHI (ePHI).
Image-sharing platforms must implement strong end-to-end encryption for both stored data (at rest) and data being transmitted (in transit).
Configure your system to use AES-256 encryption for data at rest and TLS 1.3 for data in transit.
Network Architecture That Works
Hub-and-Spoke vs Mesh Networks You have two main options for connecting multiple institutions. A hub-and-spoke model routes everything through a central point, which is easier to manage but creates a potential bottleneck. A mesh network allows direct connections between institutions, offering better performance but requiring more complex configuration.
Firewall and VPN Configuration Your network security needs special attention for cross-institutional routing. Configure dedicated VPN tunnels between participating institutions, and set up firewall rules that allow DICOM traffic only on specified ports (typically 104 for DICOM communication).
Quality of Service (QoS) Settings Medical images can be large, and delays can impact patient care. Configure QoS settings to prioritize DICOM traffic over less critical network activity. This ensures your image transfers don’t get stuck behind routine data backups or administrative traffic.
Privacy Protocol Implementation
Access Control Lists Create detailed access control lists that specify exactly which users from each institution can access what types of images.
Systems must also implement access controls that limit who can view or download imaging files. Don’t use blanket permissions—be specific about who needs what access.
Audit Trail Configuration Every image transfer must be logged and auditable. Configure your system to capture:
- Who requested the image
- When the transfer occurred
- Which images were sent
- Any privacy modifications applied
- Recipient confirmation of receipt
Data Retention Policies Set clear policies for how long transmitted images are retained in temporary storage systems.
It is recommended to anonymize DICOM images before transmitting them externally. Configure automatic deletion of temporary files after successful transfer confirmation.
Technical Configuration Steps
Setting Up AE Titles Each institution needs unique Application Entity (AE) titles for identification. Keep these standardized across your network—use institution codes followed by department identifiers (like “HOSP01_RAD” for Hospital 01 Radiology).
Configuring Routing Rules Your DICOM router needs specific rules for handling cross-institutional transfers. Set up conditional routing that automatically applies privacy protocols based on the destination. For example, images going to external institutions might need additional anonymization compared to internal transfers.
Testing and Validation Before going live, test your configuration with sample data. Send test images between institutions and verify that:
- Privacy protocols are applied correctly
- Images arrive intact and viewable
- Audit logs capture all necessary information
- Error handling works as expected

Common Challenges and Solutions
Vendor Compatibility Issues Different PACS vendors sometimes use variations of the DICOM standard. PACS vendors employ various syntaxes within DICOM, which can make it difficult to use data from one system in another medical system. Test thoroughly with all participating institutions and consider using a vendor-neutral archive (VNA) to standardize image formats.
Performance Optimization Large imaging studies can overwhelm network connections. Configure your system to compress images during transmission without losing diagnostic quality. Also consider scheduling routine transfers during off-peak hours to avoid impacting urgent cases.
Regulatory Compliance Different regions may have varying privacy requirements. Countries such as Australia and the member countries of the European Union have very specific privacy laws that can make a provider’s task very difficult. Configure your system to handle the most restrictive requirements in your network.
Monitoring and Maintenance
Performance Metrics Track key performance indicators like transfer success rates, average transfer times, and system availability. Set up alerts for unusual patterns that might indicate security issues or system problems.
Regular Security Updates Keep all components of your routing system updated with the latest security patches. Configure automated updates for non-critical components, but plan maintenance windows for core routing infrastructure updates.
Staff Training Your technical configuration is only as good as the people using it. Train staff on proper procedures for requesting cross-institutional transfers and handling any privacy concerns that arise.